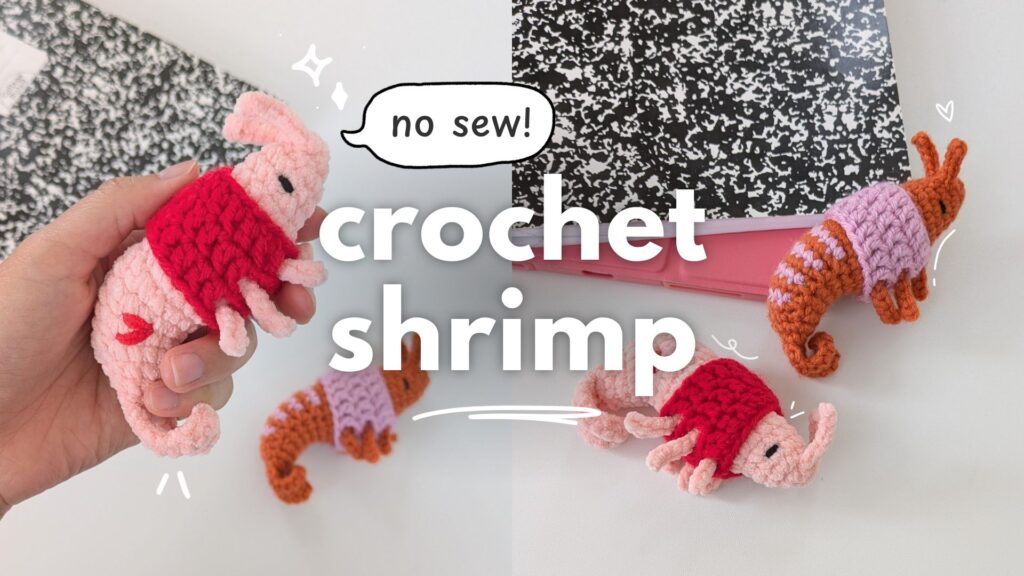
[click the photo to watch the video tutorial]
Materials
- 3mm crochet hook
- Yarn in shrimp color (optional: 2nd color for the stripes)
- Yarn in shirt color
- Black yarn for the eyes
- Stitch marker (or a piece of yarn)
- Stuffing
- Tapestry needle
- Scissors
Abbreviations (US terms)
- MR – magic ring
- sc – single crochet
- dc – double crochet
- inc – increase (2 sc into one stitch)
- sc2tog – single crochet 2 stitches together
- dec – decrease/ invisible decrease
- ch – chain
- sl. st. – slip stitch
- sk – skip
- st(s) – stitch(es)
- FO – fasten off
- x – times (indicates the number of times to repeat)
- [] – repeat steps between brackets for the specified number of times
- () – crochet the group of stitches all in the same stitch
- (#) – the number of stitches you should have at the end of the round
Notes
- You will need 2 skeins of yarn – one for the main body and one for the stripes. If you don’t want stripes on the shrimp tail, crochet with the same color of yarn instead of a new color. (Tip: For the single color shrimp, you can save on yarn by using the other tail end of your yarn to crochet the “stripes”. This way you will only need 1 skein.)
- The shrimp is crocheted in a continuous spiral and the sweater is crocheted in joined rounds.
Sizing
Approx. finished measurements using a 3 mm hook and Loops&Threads Impeccable weight 4 acrylic yarn:
- Height: 2”
- Length: 4”
Disclaimer:
Please do not copy, redistribute, or resell this pattern in any way. You can sell the finished products and a mention as the pattern creator is appreciated!

If you have any questions, feel free to leave a comment here or on my socials :)
Crochet Shrimp Pattern
- The shrimp is crocheted in a Continuous Spiral.
- The sweater is crocheted in Joined Rounds.
- This means at the end of every round, we will slst into the the first st of the previous round to join the round and then ch1 to start the next round.
- Pull both the slst and ch1 tight to shrink their size.
- The first st of the round will also be the same st that we slst into.
- Do not include the slst and ch1 in your stitch count at the end of the round.
- Click the drop-down menus for photos!
Body
- Reference these when you need them:
- *Short arm – ch5, then starting from the 2nd ch from your hook, sl. st. into the back bumps of the chains (total of 4 sl. sts.)
- **Long arm – ch 6, then starting from the 2nd ch from your hook, sl. st. into the back bumps of the chains (total of 5 sl. sts.)
R1: MR 6sc (6)
R2: 3sc, incx3 (9)
R3: 3sc, [sc, inc] x3 (12)
R4: 12sc (12)
R5: 3sc, [2sc, inc] x3 (15)
R6: 15sc (15)
R7: 9sc, *short arm, 2sc, *short arm, 4sc (15 sts not counting the arms)
First set of shrimp arms
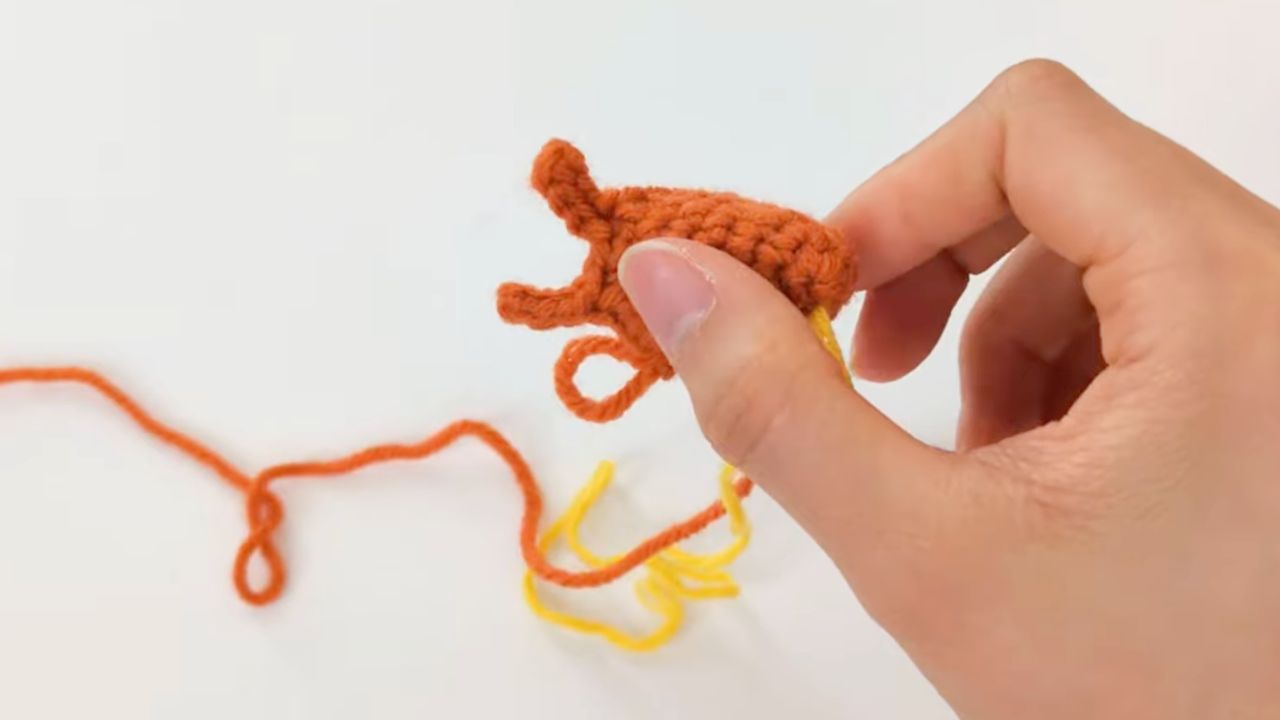
R8: 6sc, inc, sc, (sc2tog, sc), (sc, sc2tog, sc), 2sc, inc (18)
(sc2tog, sc) diagram
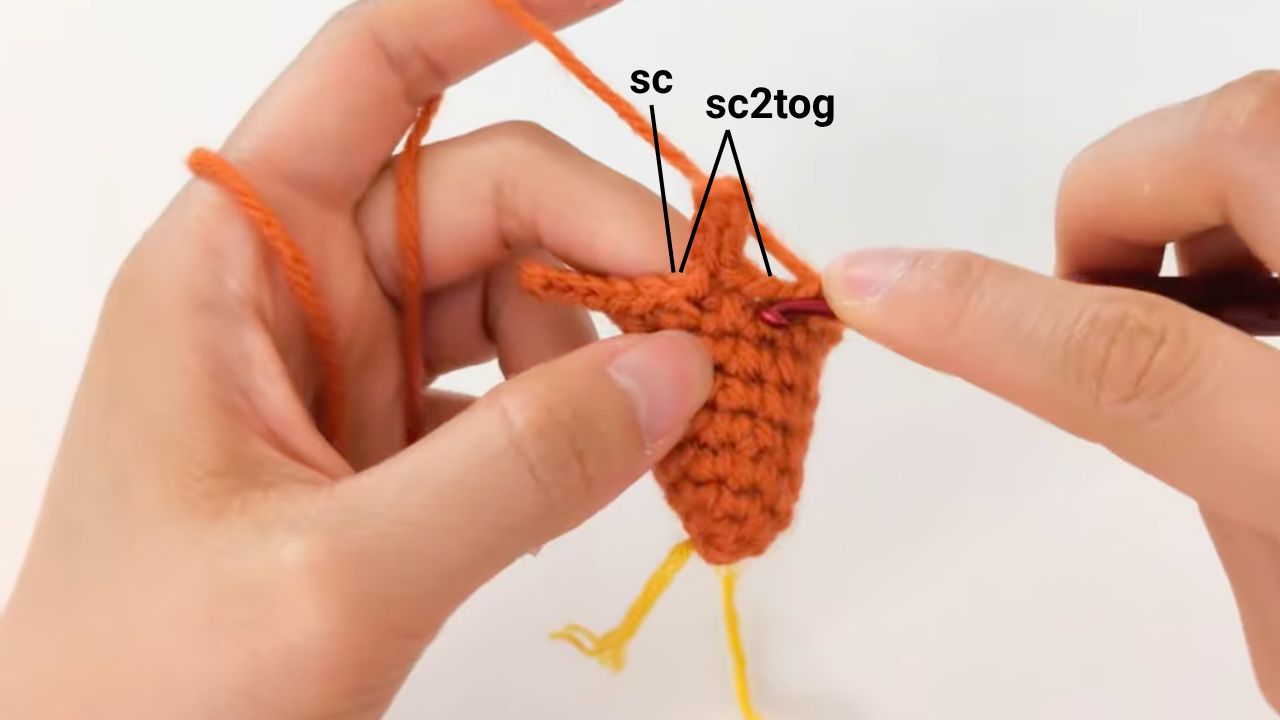
(sc, sc2tog, sc) diagram
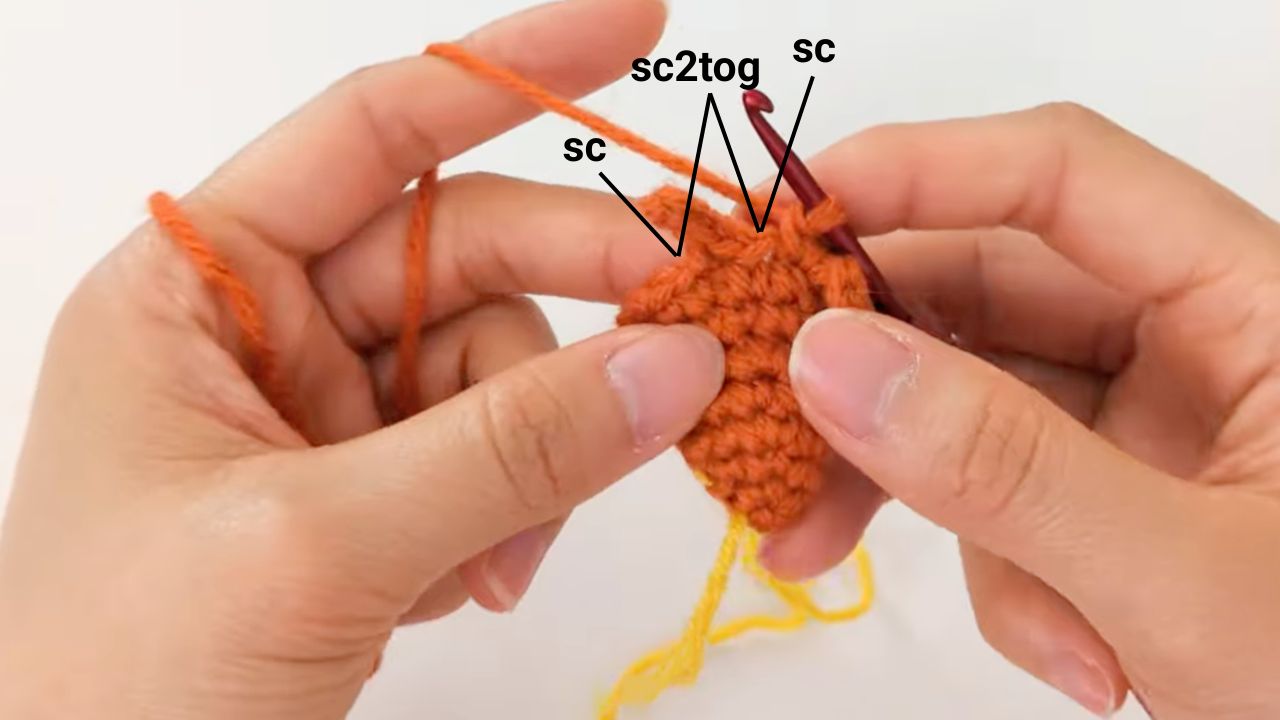
R9: 10sc, **long arm, 3sc, **long arm, 5sc (18 sts not counting the arms)
R10: 9sc, (sc2tog, sc), sc, (sc2tog, sc), 4sc (18)
R11: repeat R9
R12: repeat R10
R13: 18sc (18)
Progress photo (total 6 arms – 3 on each side)
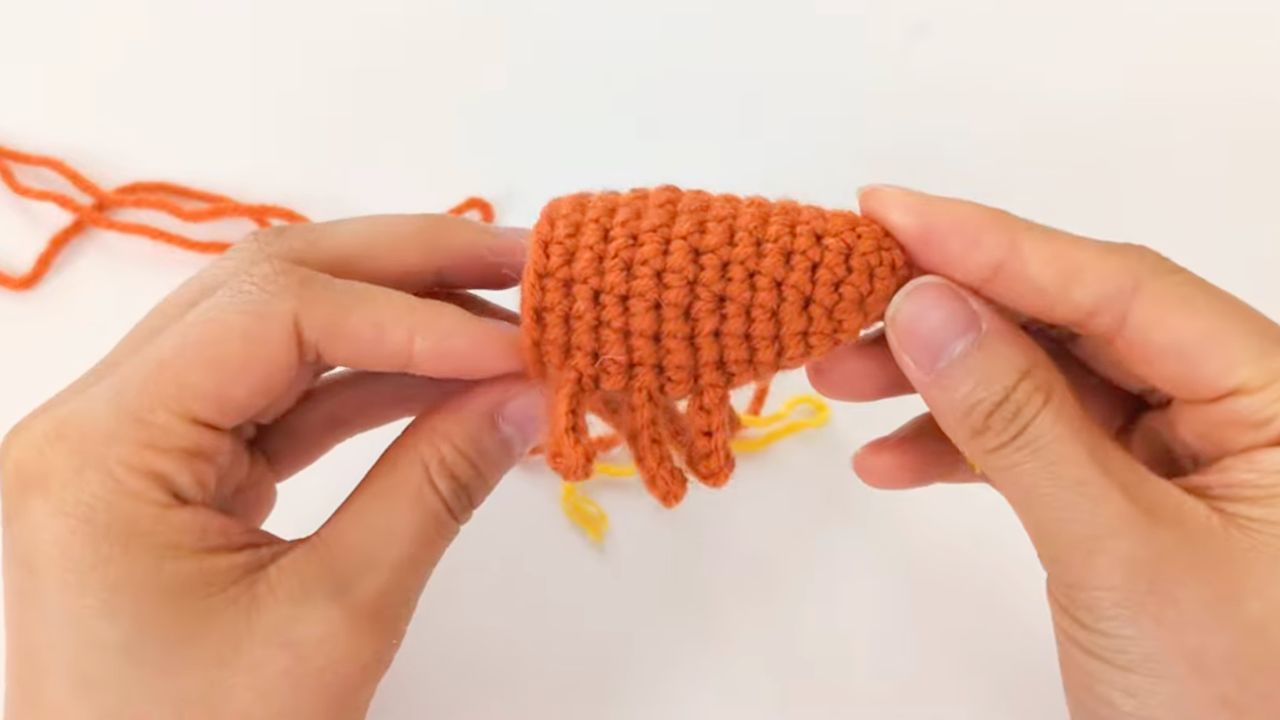
Stuff
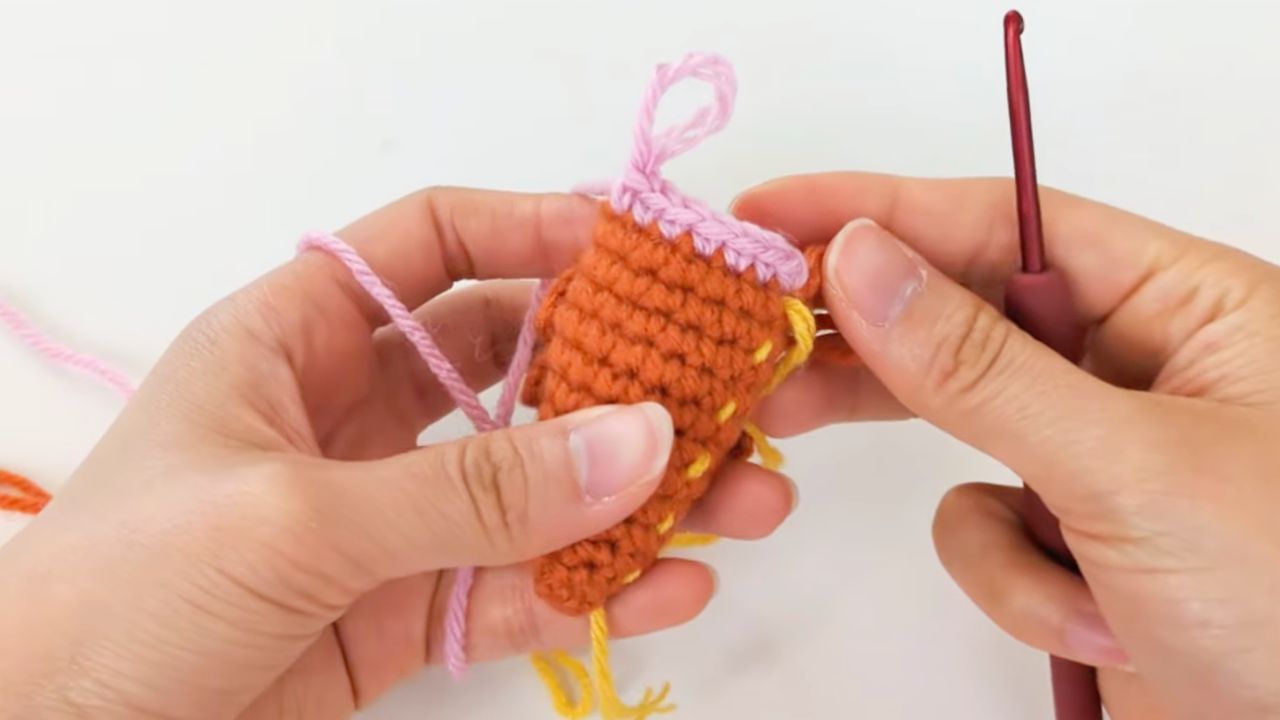
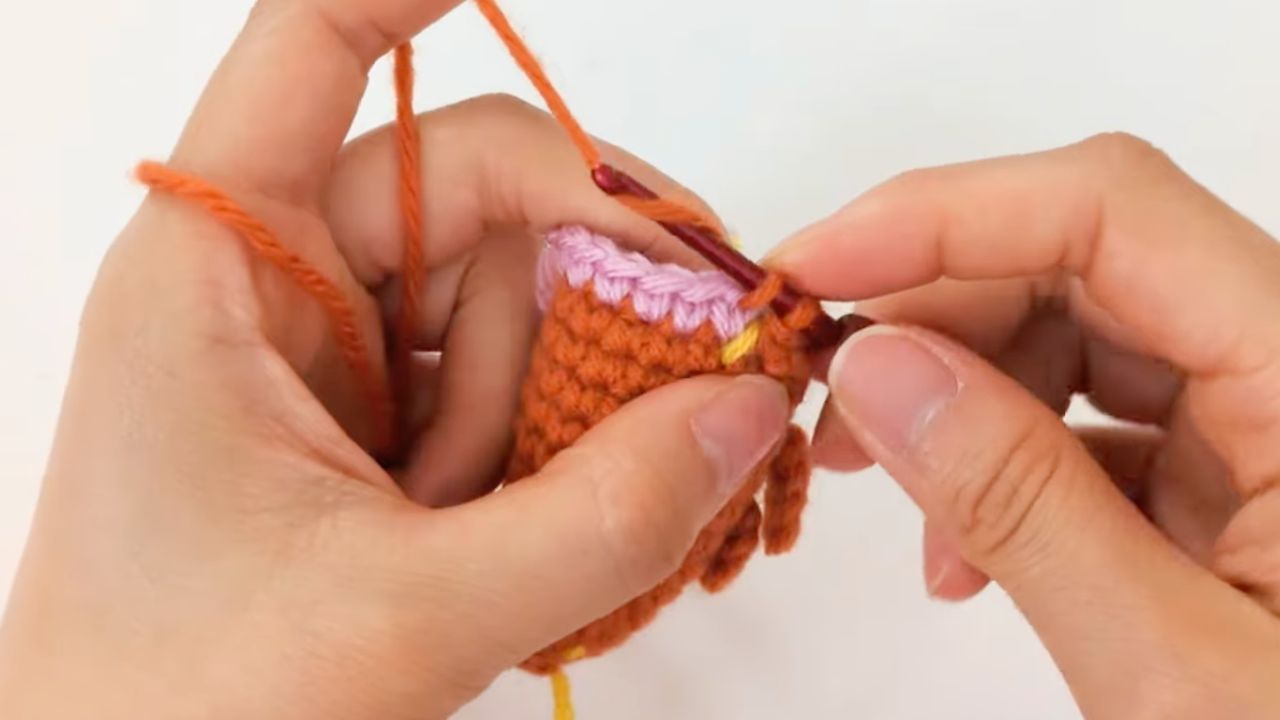
R14:
- Part 1 – **Do this part even if you are not making the striped shrimp. For the single-colored shrimp, just use yarn in the same color instead of a different color.** Remove your hook from the current st and secure it with a stitch marker for later. Then into the next st, attach a new piece of yarn with a ch 1. Continuing with this new yarn, sc 7 beginning in the same st with the ch 1. FO this section of new yarn.
- Part 2 – Go back to the st we marked in the beginning and then crochet 6sc, (sc, sc2tog), [sc, dec] x3, sc (15)
R14 photos
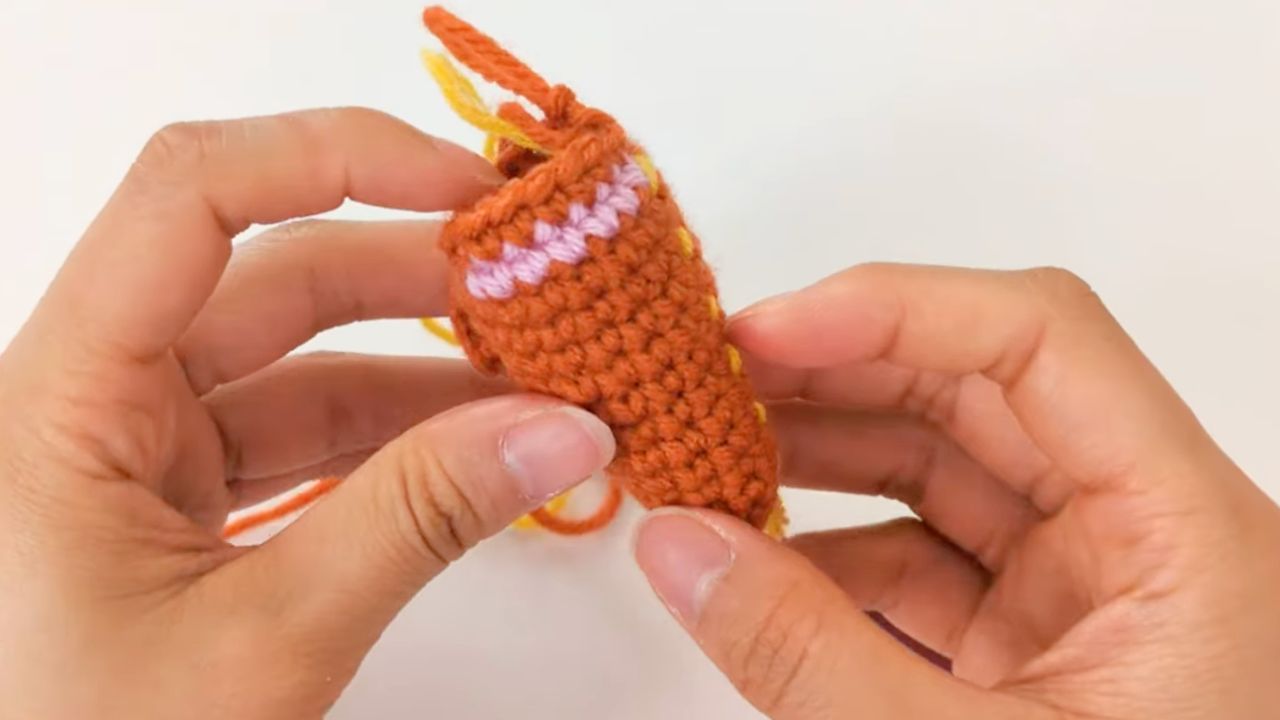
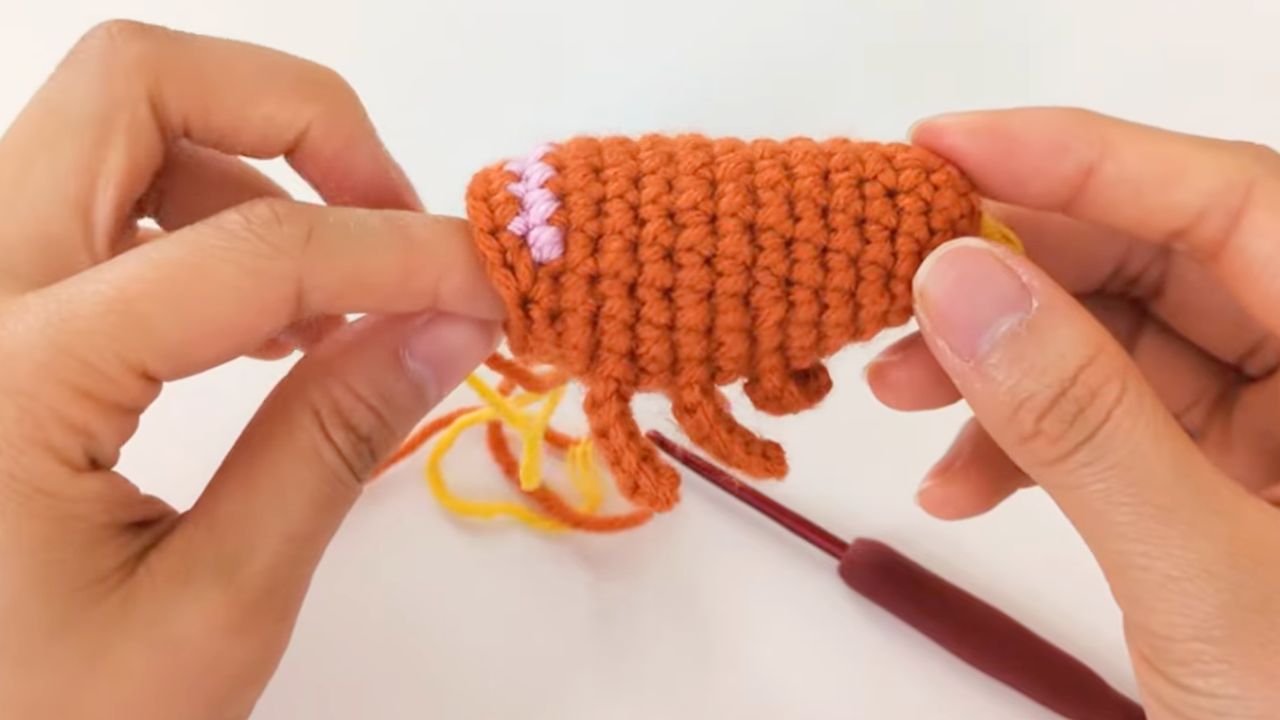
R15:
- Part 1 – Repeat R14 part 1
- Part 2 – Go back to the st we marked in the beginning and then crochet 6sc, (sc, sc2tog), 7sc (15)
R16-R17: repeat R15
Stuff
R18: [3sc, dec] x3 (12)
R19: 12sc (12)
Add a little bit of stuffing if needed
R20: [sc, dec] x4 (8)
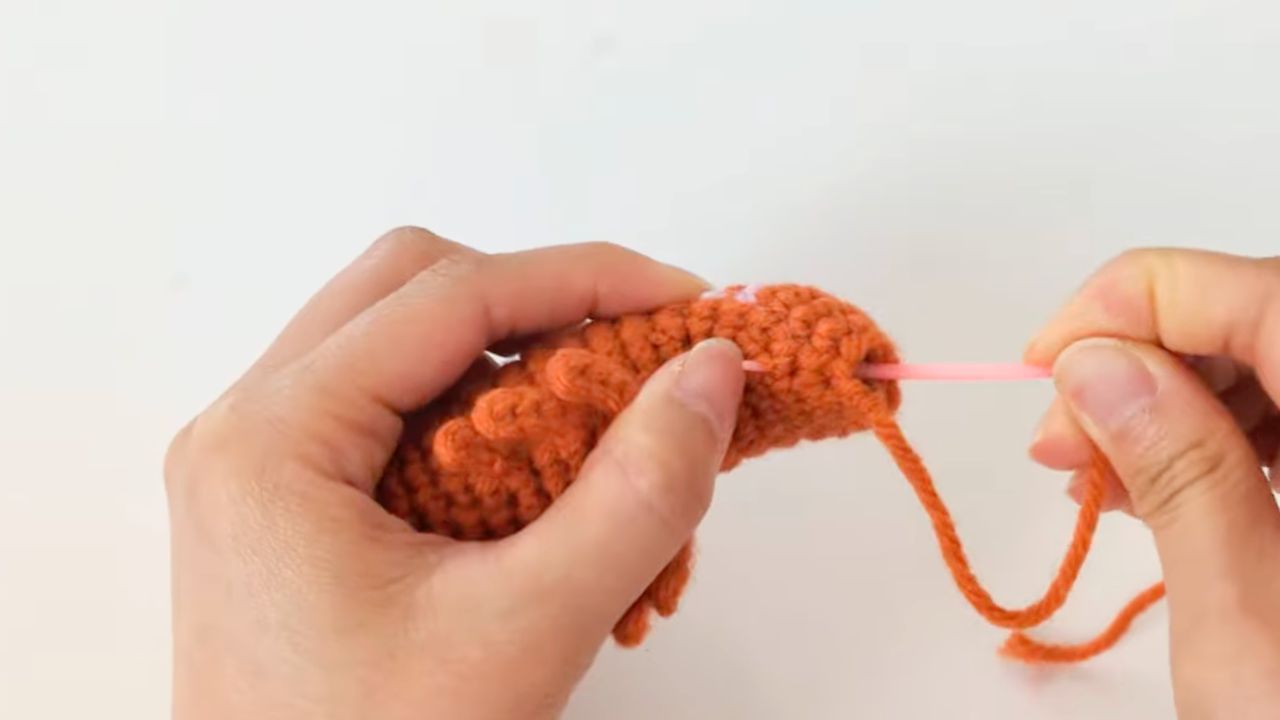
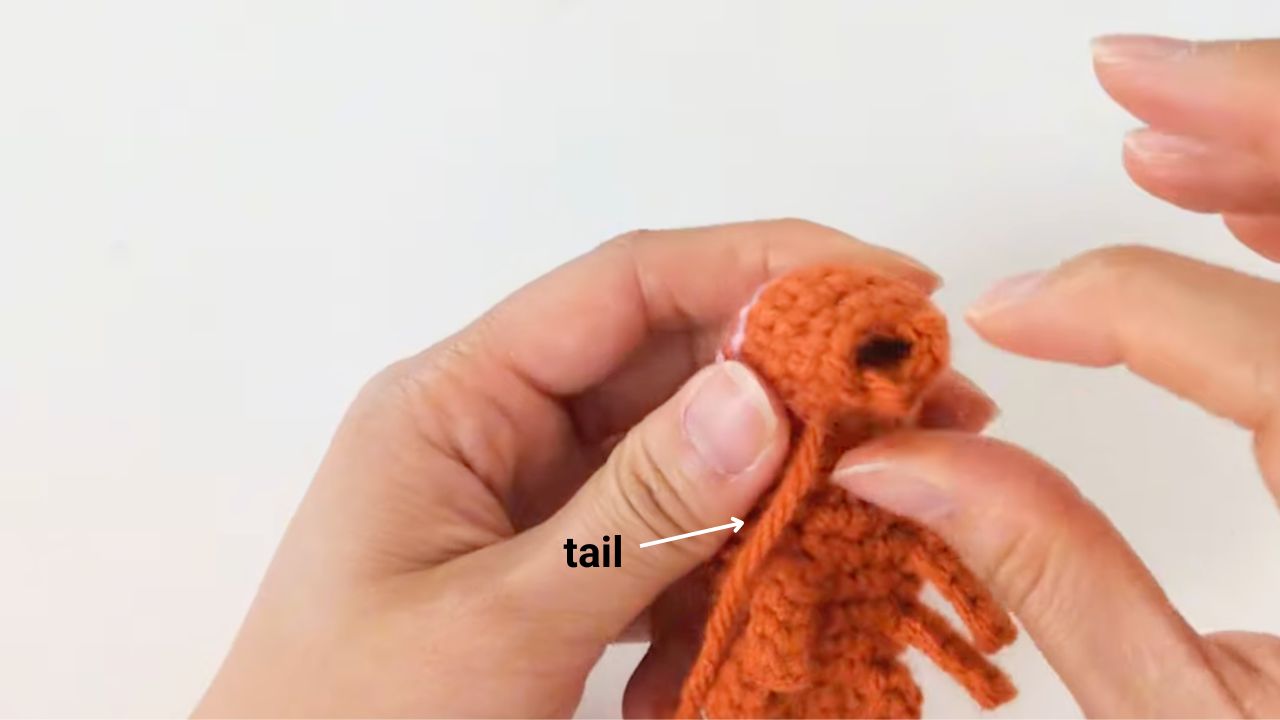
FO, but don’t seal the piece closed – instead hide the tail to the side to move it out of the way.
Finished body
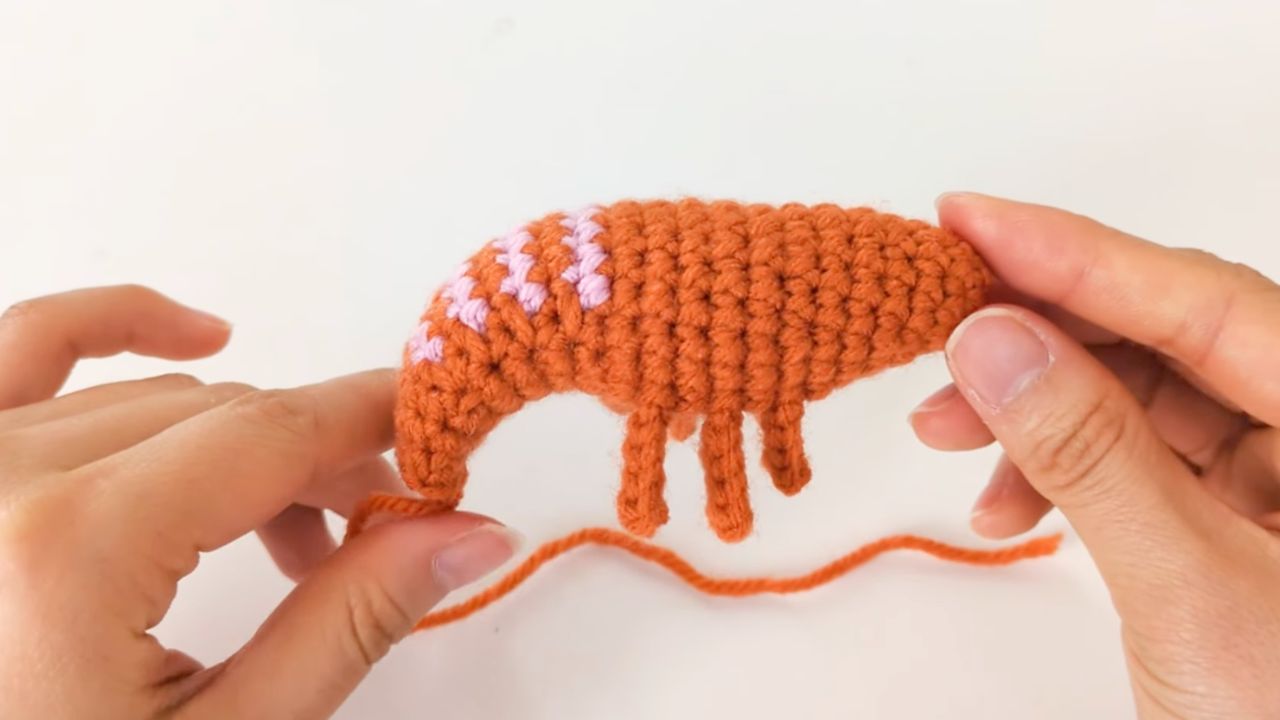
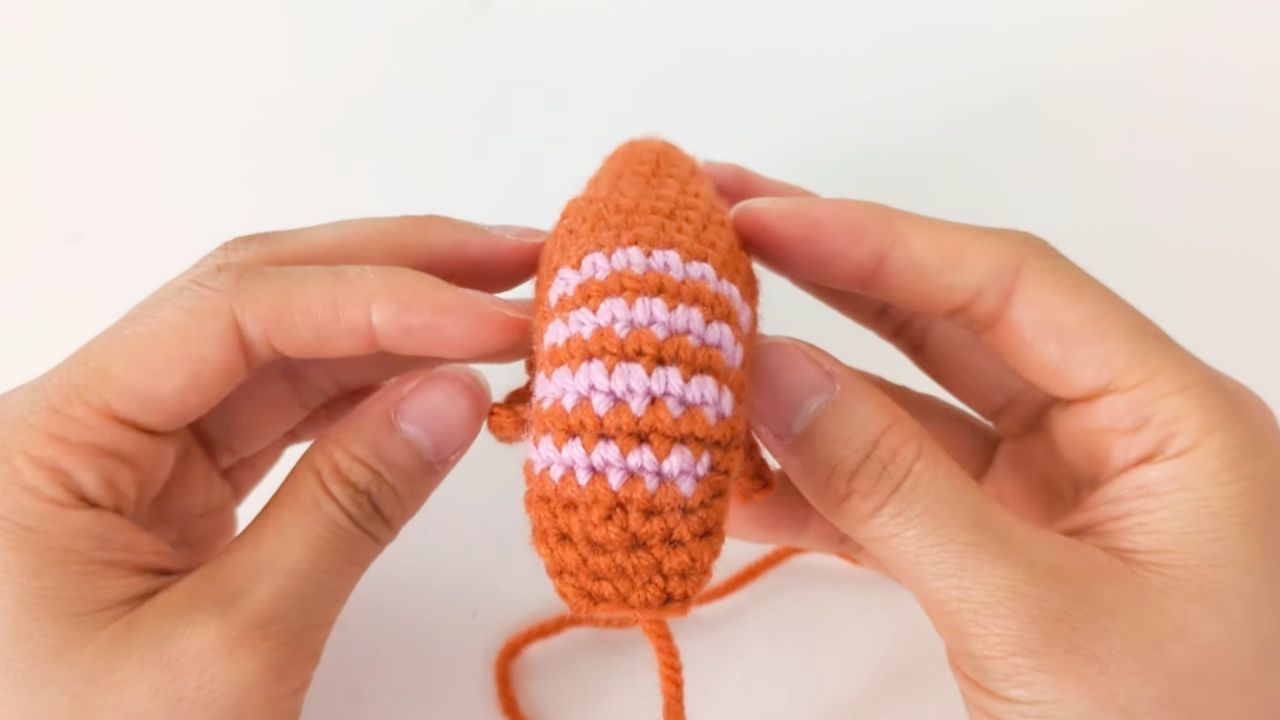
Move tail to the side
Tail
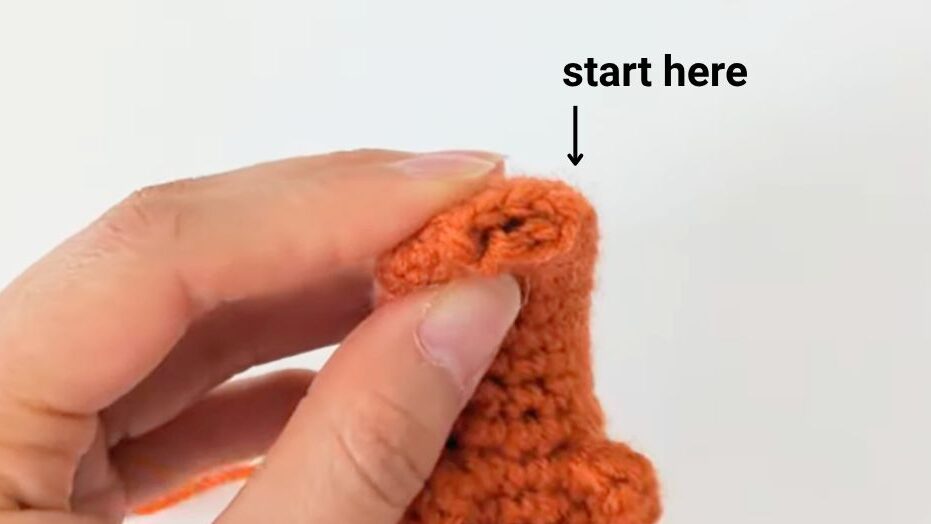
Fold the opening of the shrimp in half so that the sts. match up.
Starting on the right side, attach the yarn with a ch 1. Then into the same st (sc, ch8, starting from the 2nd ch from your hook, sc into the back bumps of the chains (total 7sc), sc2tog). Into the next available st, (sc, ch8, 7sc, sc2tog)
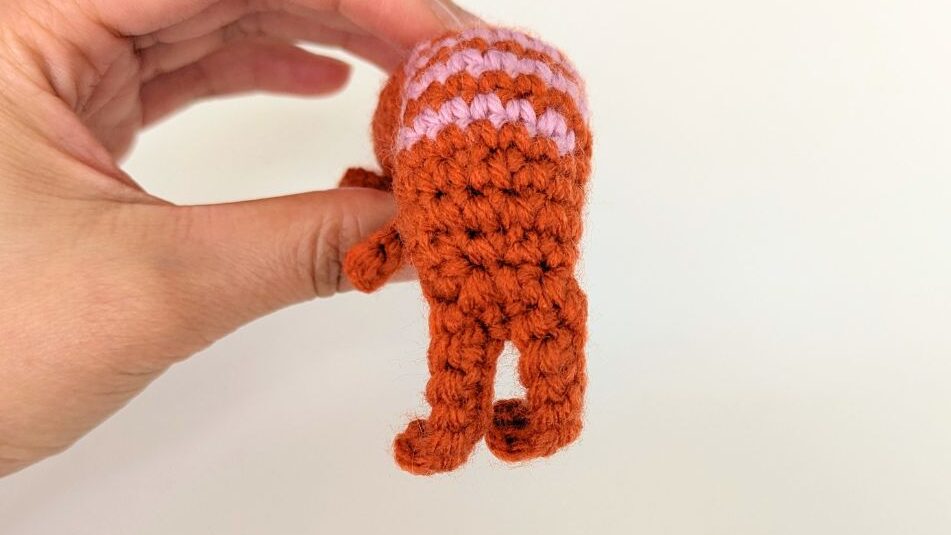
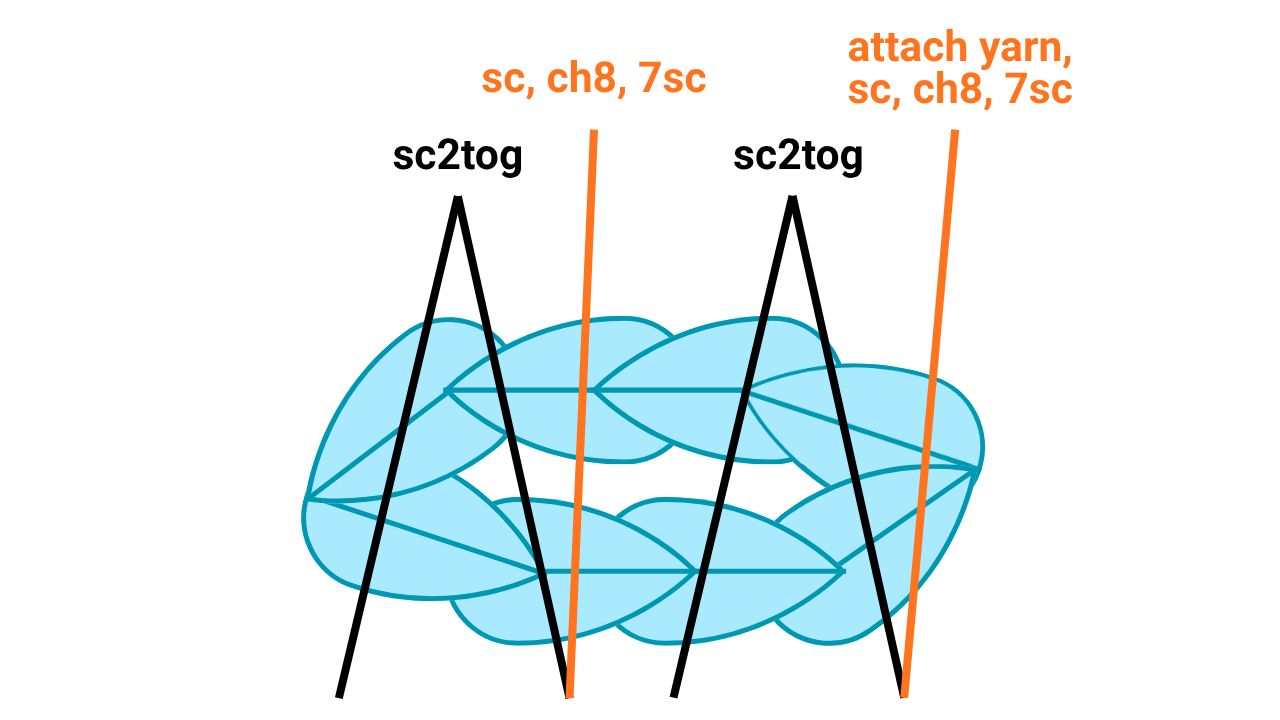
FO and weave in all tail ends.
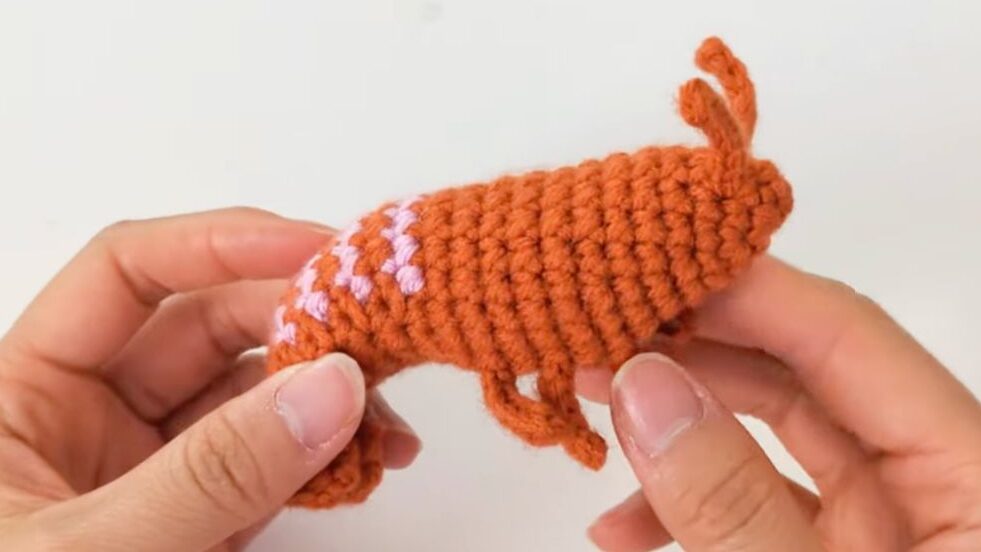
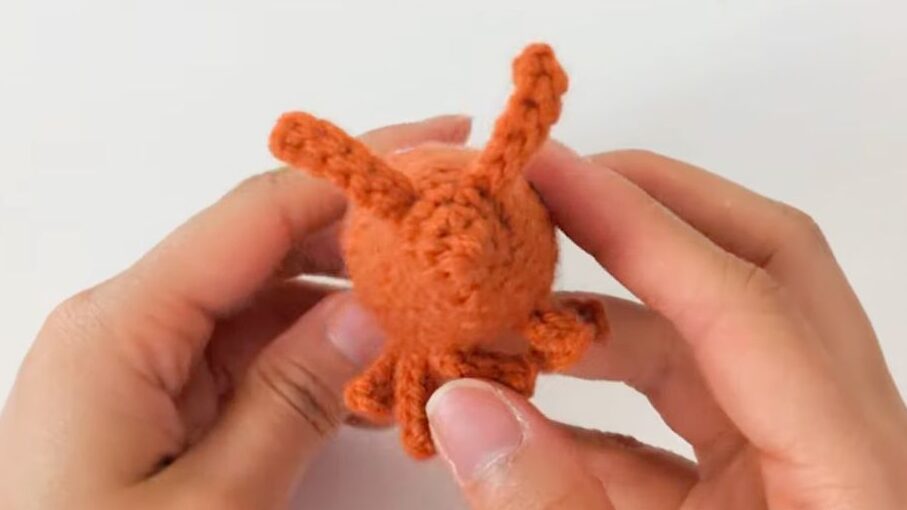
Antennae (Make 2)
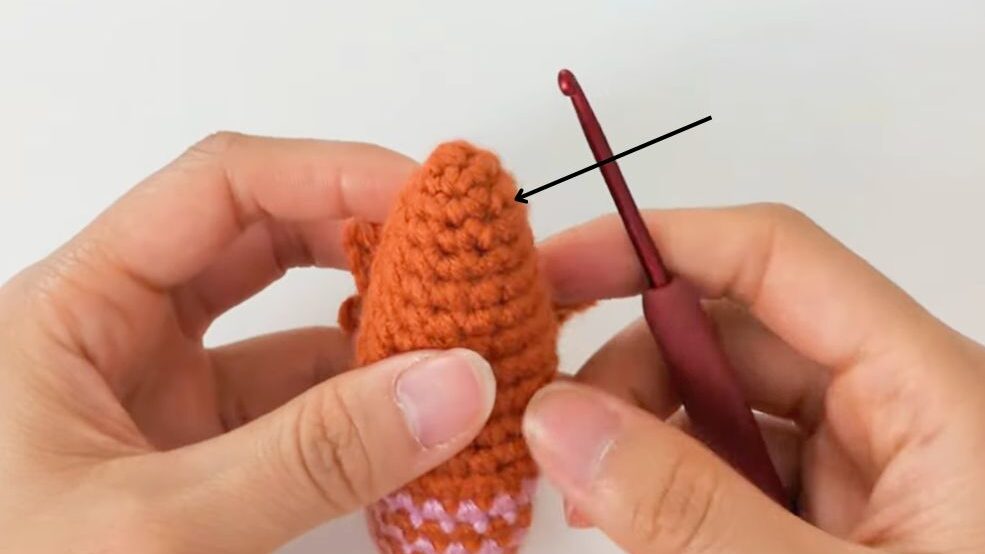
Center the antennae between either R2 & R3* or R3 & R4**, placing one stitch between the antennae.
*For the shrimp made with chenille yarn, I placed the antennae between R2 & R3.
**For the shrimp made with acrylic yarn, I placed them between R3 & R4.
Either placement works!
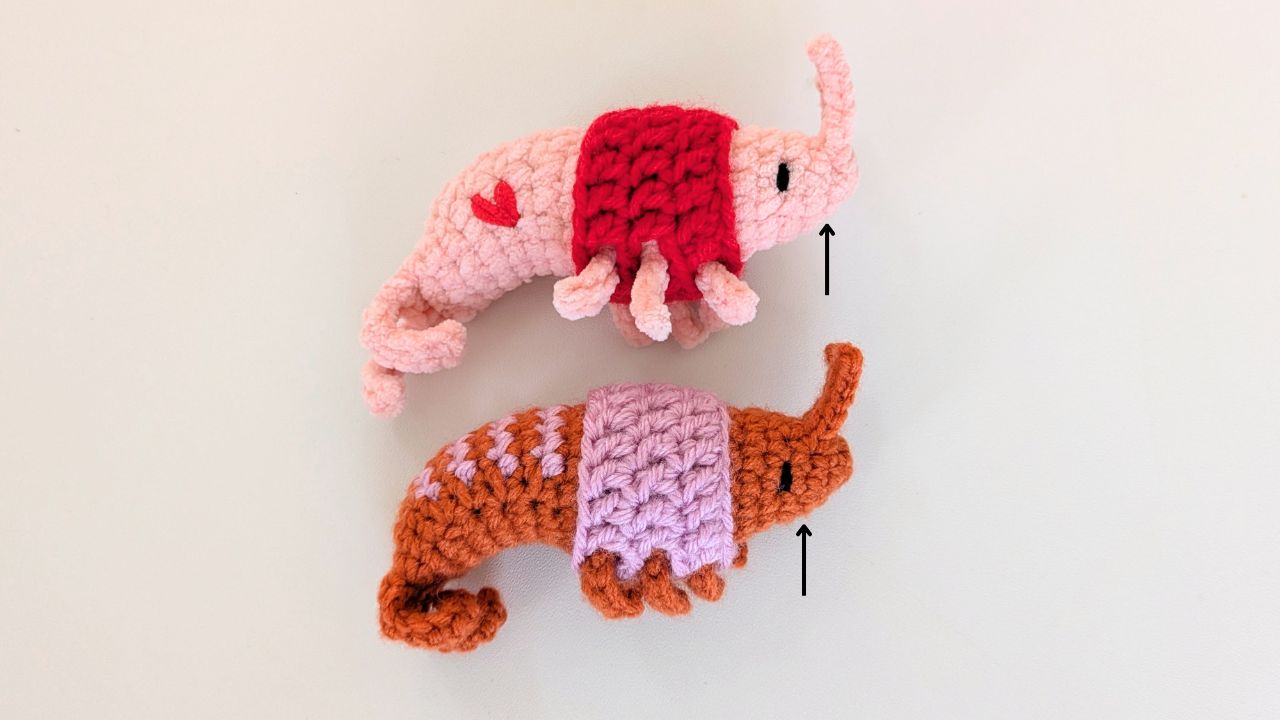
To crochet the antenna: ch7, then starting from the 2nd chain from your hook, sl. st. into the back bumps of the chains (total 6 sl. sts.)
Antennae
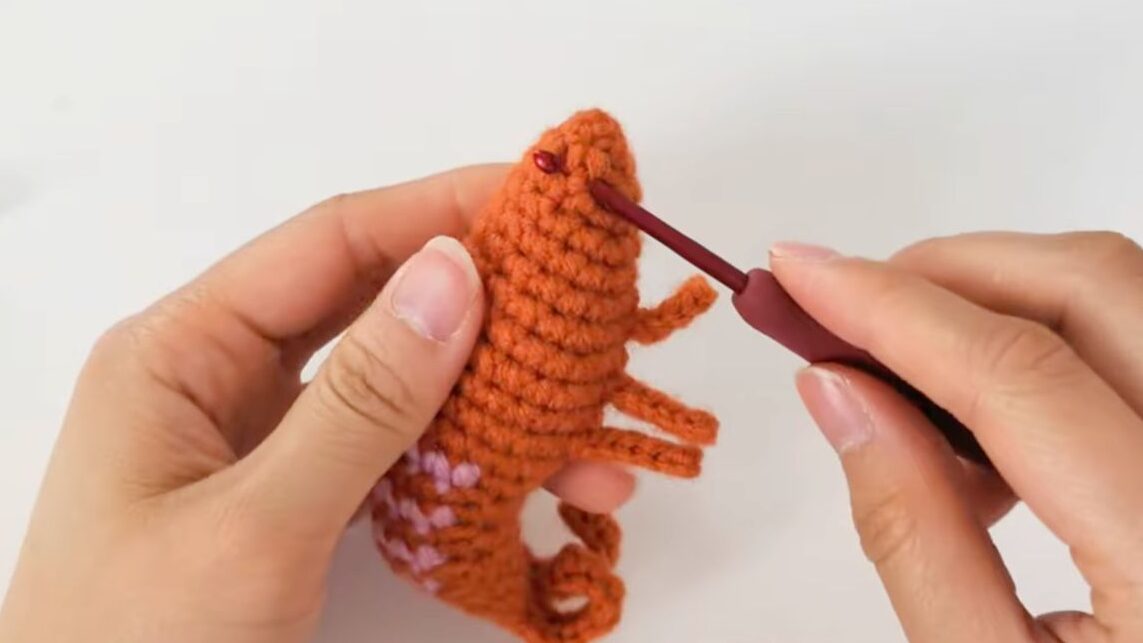
Eyes
Between R4 & R5, 1 st. in height
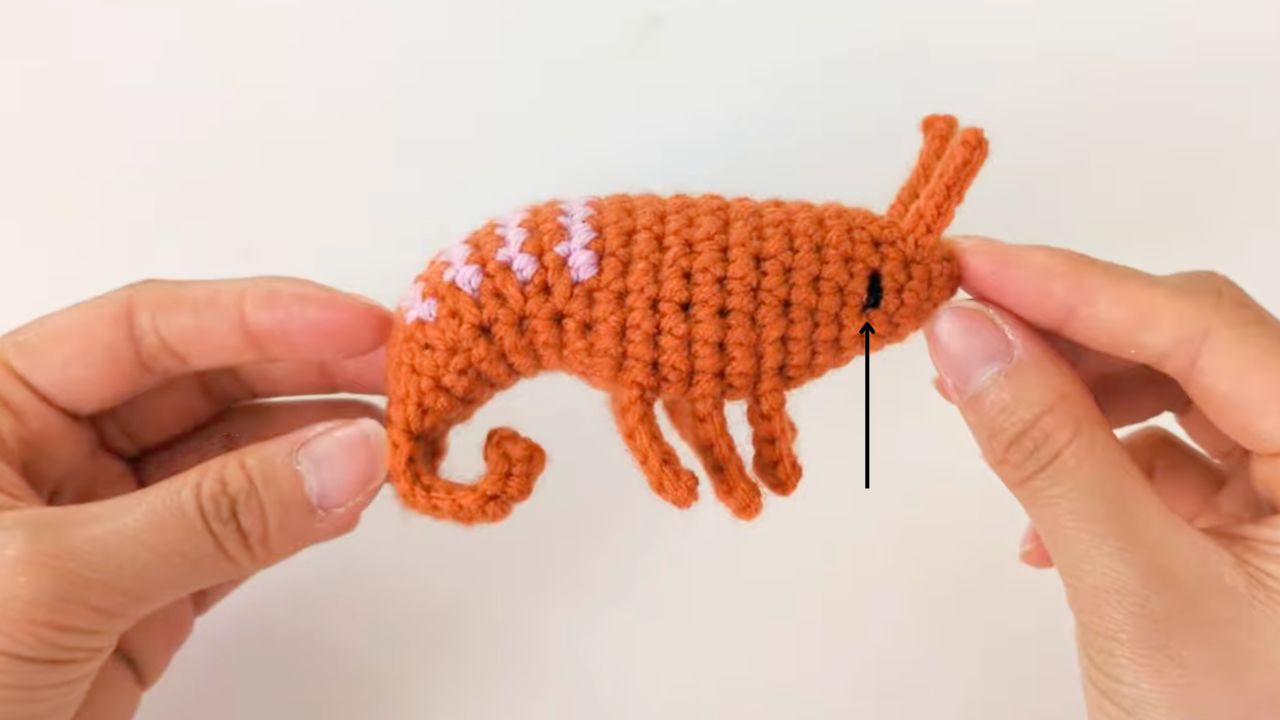
Sewn on both sides of the head
Sweater
ch18, sl. st. into the 1st ch to form a loop (18)
R1: ch4, sk.2, 14dc, ch2, sk.2 (18)
R2: sl. st. around the armhole opening to join the round, ch2, dc into the 2nd ch from the 1st dc in the previous round, ch2, sk.2, 12dc, ch2, sk.2, dc (18)
Joining & Starting R2
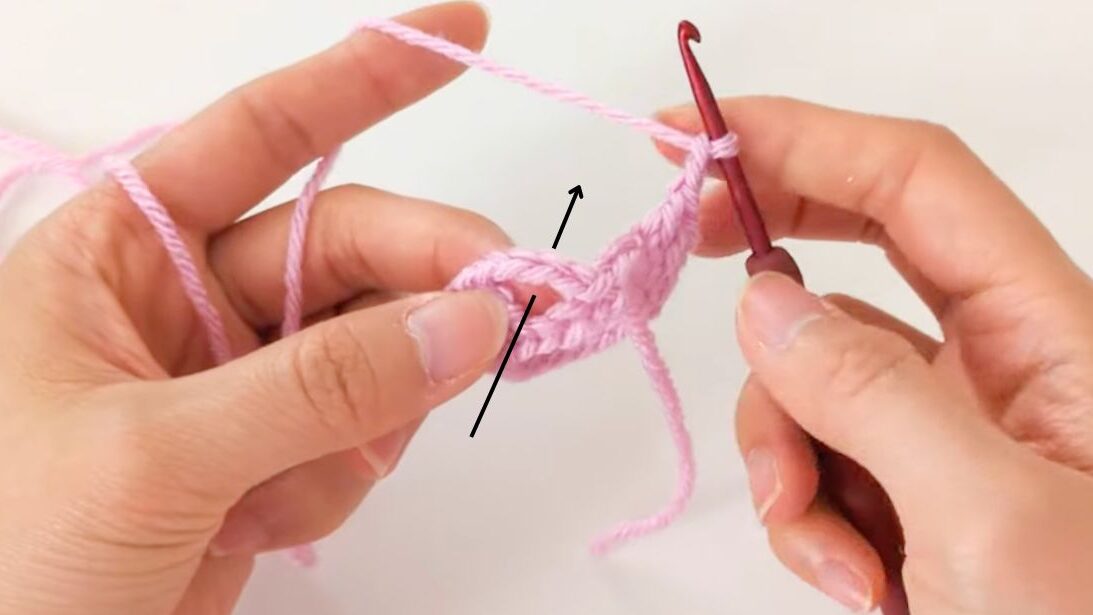
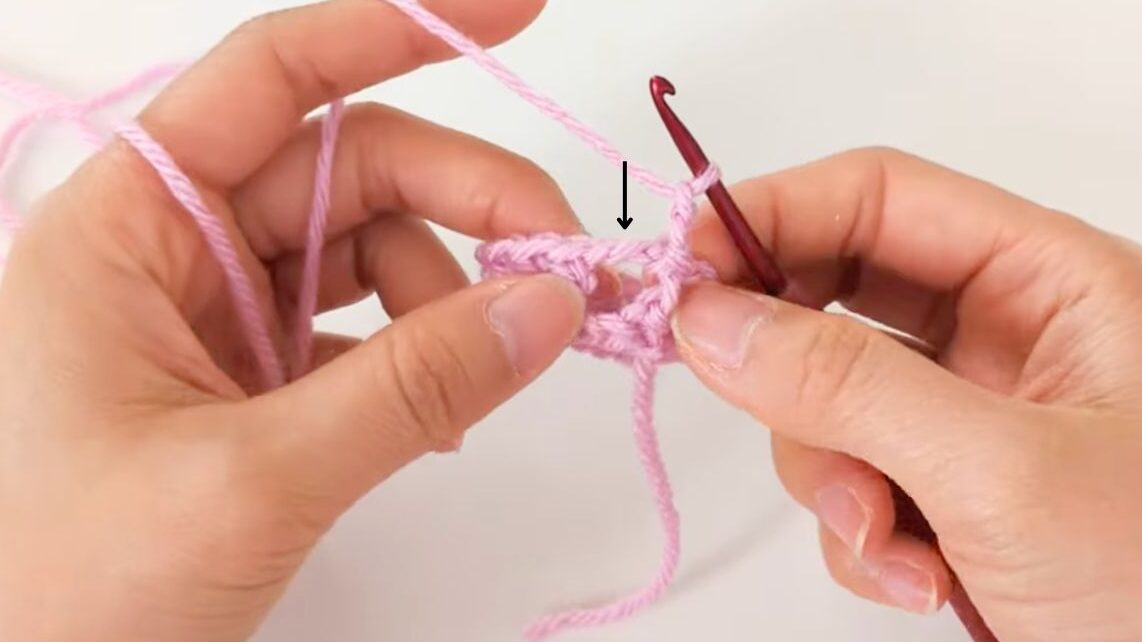
R3: sl. st. into the 1st st. to join, ch2, dc into the same st with the sl. st., ch2, sk.2, 12dc, ch2, sk.2, dc (18)
FO and weave in tail ends.
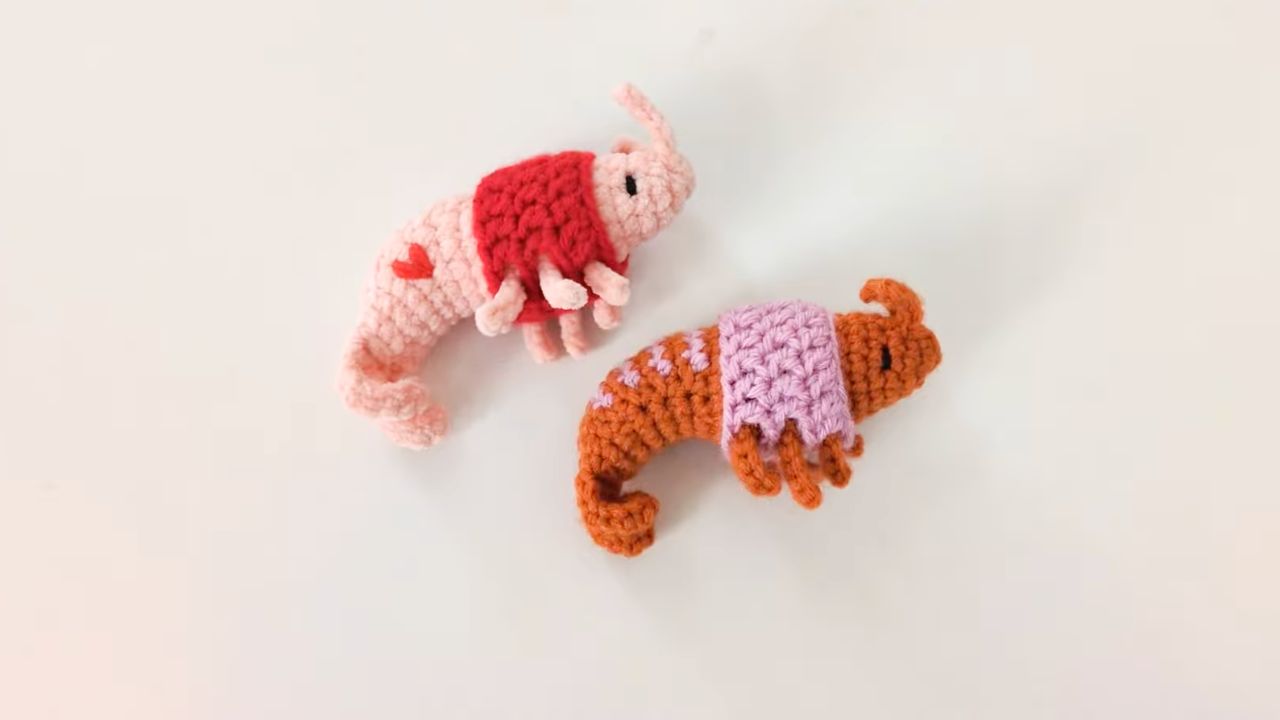
Congrats! You’re done! 🎉
I hope you enjoyed this crochet shrimp pattern! If you have any questions, leave a comment below!
Share your makes with me on Instagram by tagging @mwwcrafts – I’d love to see them!
Leave a Reply